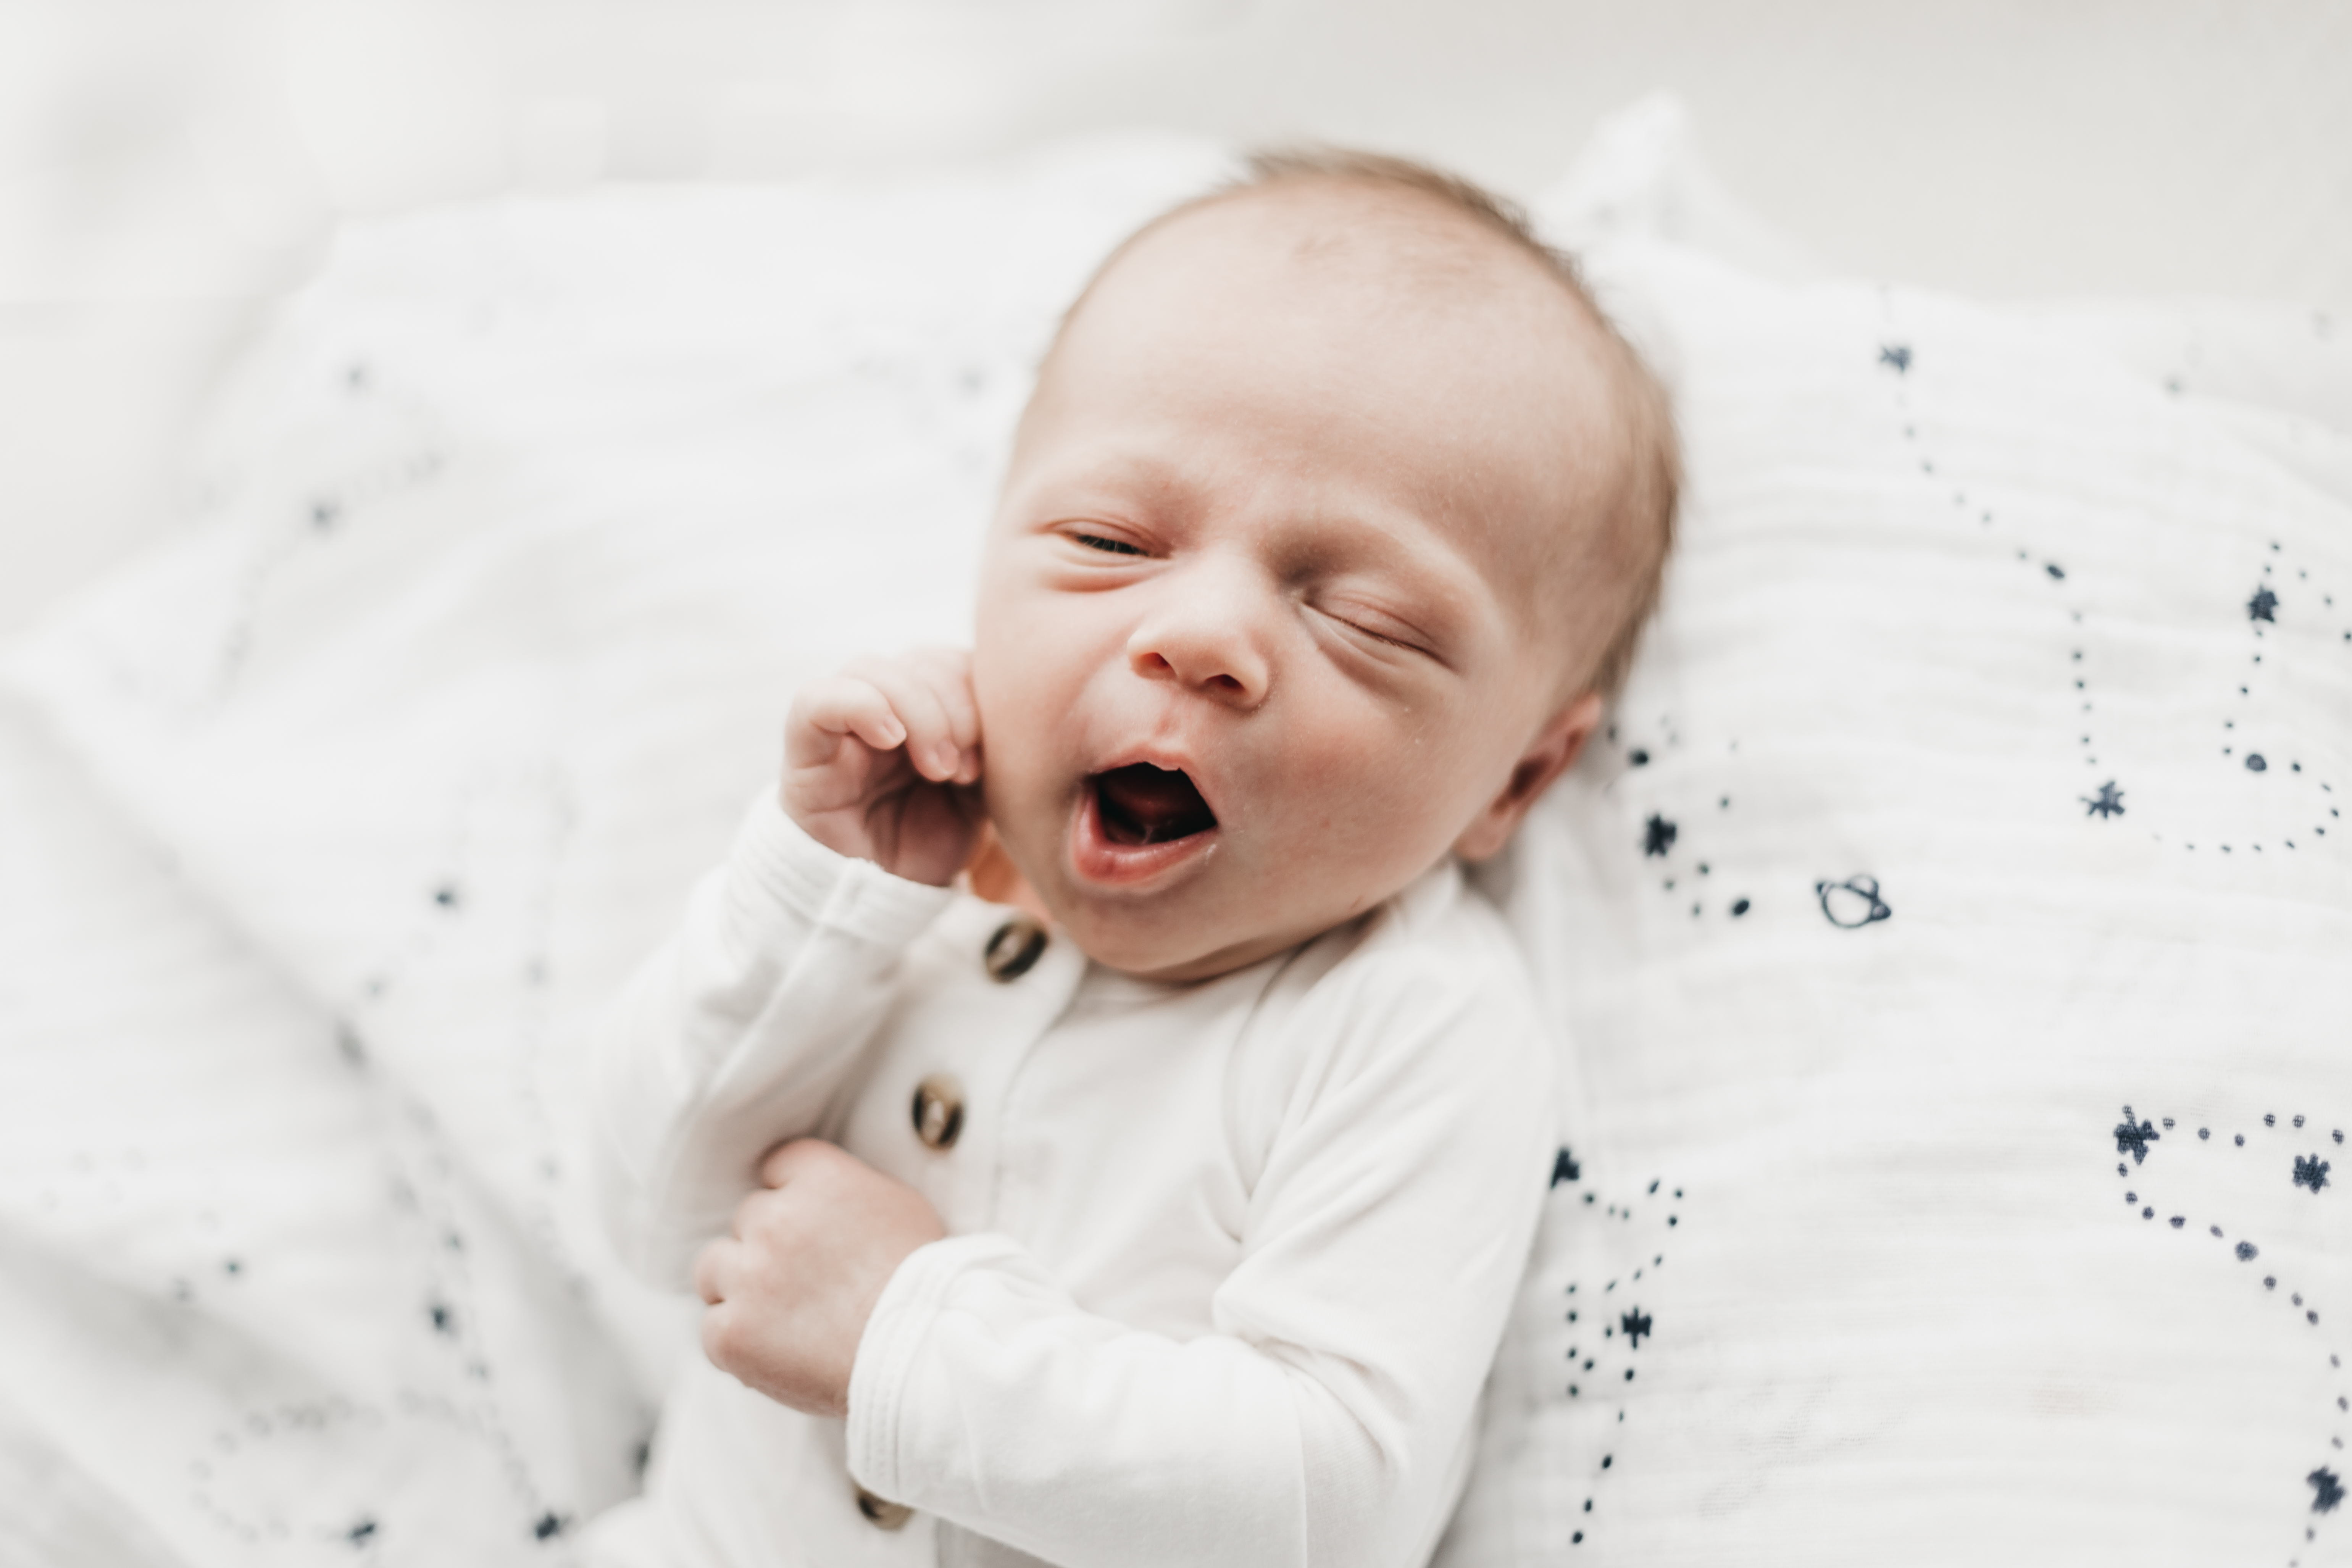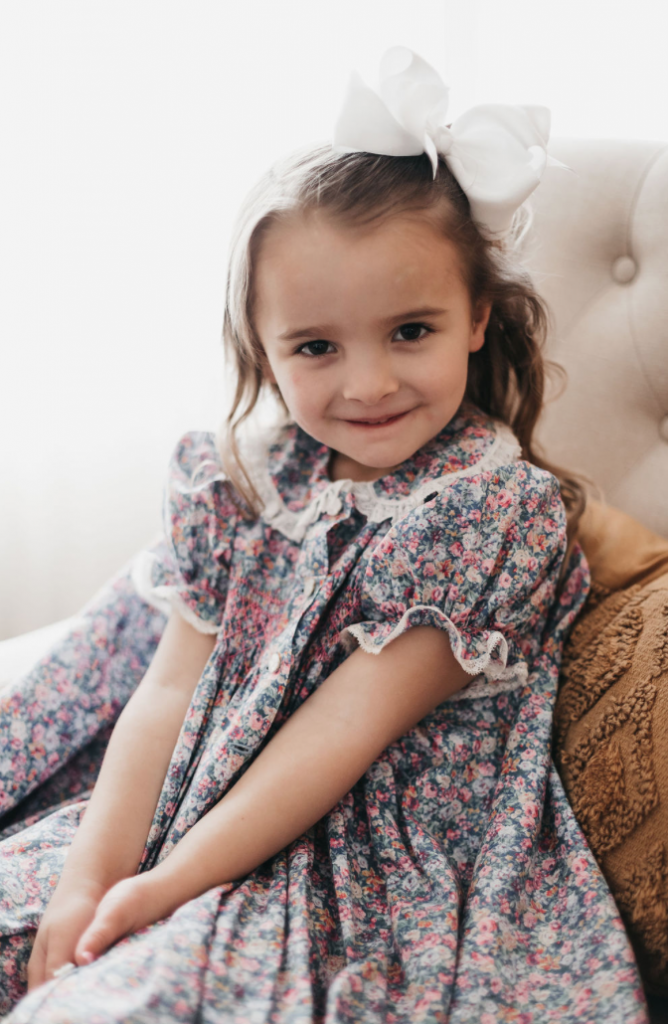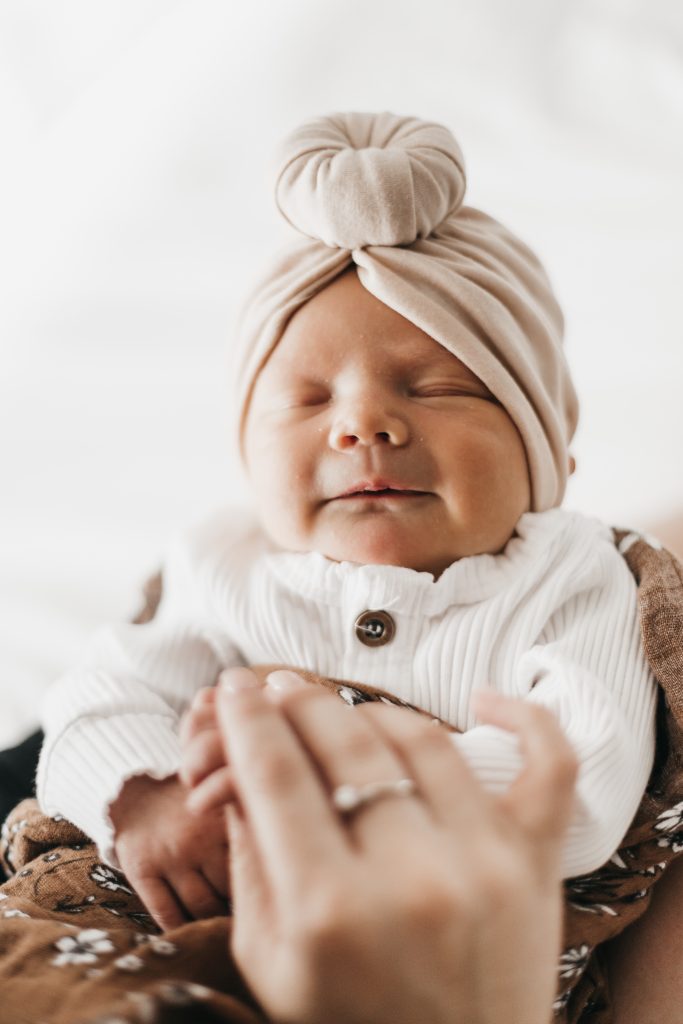
Hi everyone, I hope you’re enjoying time at home with you family! I’ve had so many sessions cancelled and it breaks my heart these families will not be getting photographs to document this time in their lives. This is why I wanted to put together a little resource to help you capture those photos while at home! You are about to learn how to take iphone photos at home! I’m going to lead you through my step-by-step process for a newborn session, but this can be applied to kiddos or even self portraits!

Step 1: Find the perfect location
To find the perfect location, you want to choose a room that has white walls (or neutral walls). This is important because whatever color is on the walls will ultimately reflect onto the baby. You also want to find a room with natural light. Preferably it will have indirect lighting — meaning there is not harsh lighting coming through the windows. Since I recommend shooting in the morning (9am-11am), I would avoid any eastern facing rooms. Another lighting tip: no extra light is needed! The natural light peeking in through your windows is just enough to keep diffuse light throughout the room and prevent unwanted shadows. Next, find a neutral piece of furniture or a neutral blanket to put on a piece of furniture. If you can’t tell, neutral is key!

Step 2: Choose the right time
This is extremely important with newborns! I always ask the mamas to feed right before I arrive. This ensures the baby will be happy, calm, and hopefully sleepy! If the baby can sleep through a majority of the session, it will make it go much smoother! Typically I can get a few eye-open shots right when I arrive, and then they are off to sleep.

Step 3: Go through the wardrobe
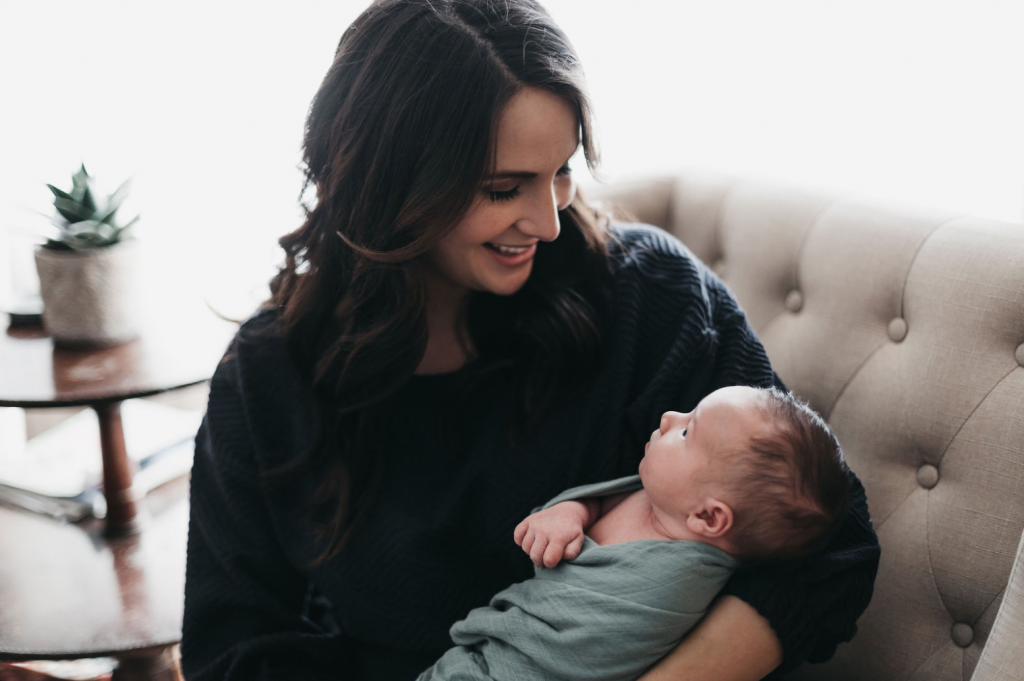
This is where you finally get to add a pop of color! If your baby is in a neutral room with a neutral background, use color to add dimension and make your little one stand out even more! My favorite colors are navy, blush, maroon, hunter green, lilac, light blue, and even a rusty orange. These are just a few of my favorites, but you can go which ever direction you would like. If you wanting do parent-baby photos, I always suggest keeping the parents in neutrals (shocker)! This helps to make you baby really stand out no matter what! I prefer to swaddle all newborns because they need the comfort, warmth, tactile security. Make sure to let a little hand slip out every now and then because you don’t want to miss the little details! You can also slip their feet out the swaddle to grab a photograph of just how tiny their feet are!
Step 4: Position, position, position
One option is to place the baby on the floor about 3 feet from the window. They can be supported by pillows and covered with a neutral blanket. The other option I have found to be more successful is to make sure the baby is at least as high as the window sill; this will ensure the light hits the baby all over. You can place the baby on the piece of furniture you have chosen, but make sure there is nothing blocking the light–including yourself! Your back should never be the window while standing directly in front of your baby. Next, I position the baby so the feet are at a 45 degree angle to the window and the baby’s head is toward the camera. This is SO important! The angle allows natural shadows to hit the baby! Also, you always want to photograph a baby from the top down. I have found the most flattering photographs are aways shot from a higher angle than the subject.
Now all you have to do is clean off you lens, tap on the screen over your baby’s face, and snap the photo! I hope you learned something new and feel confident in you ability to iPhone photos at home! Make sure to tag me (@capturingsimplicity) in any family photoshoots you do! It’s a fun little activity to help pass the time and make memories at the same time!
Check out some of my most recent work:
Newborn session: https://capturingsimplicityphoto.com/2020/03/28/indianapolis-newborn-photographer-hicks-family/
Family Session: https://capturingsimplicityphoto.com/2020/03/27/noblesville-indiana-family-photographer-frank/
How to take professional quality photos at home with an iPhone during Quarantine
@capturingsimplicity
navigation
book caitlyn
minis
home
Indianapolis Newborn & family Photographer
©2023-2026 capturing simplicity photography | all rights reserved | site credit karima creative


